ScripTouch Sign and Save installation
Note that this video shows the old installer. The new installer's screens are shown in steps 1-8 below.
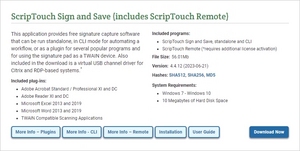
- Navigate to Scriptel Downloads page and click the Download Now button for ScripTouch Sign and Save with ScripTouch Remote. Notice the included Microsoft word plugin.
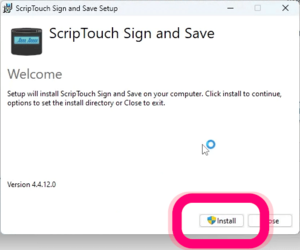
- Once the download finishes, run the installer. And click Install.
- Windows may ask you "Do you want to allow this app to make changes to your device?" If it does, click Yes
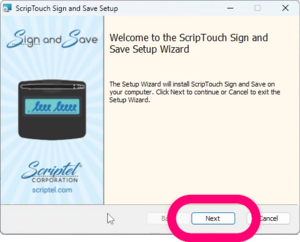
- On the Welcome screen click Next.
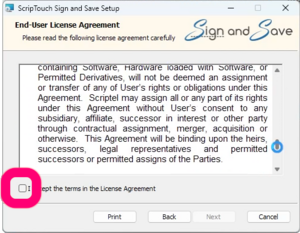
- Select "I accept the terms in the license agreement." and click Next
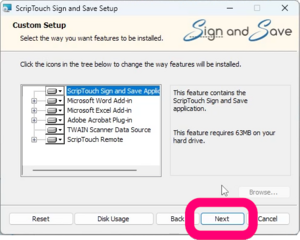
- This step allows you to change what is installed and where it will reside. If you are ok with installing everything and in the default locations, click Next
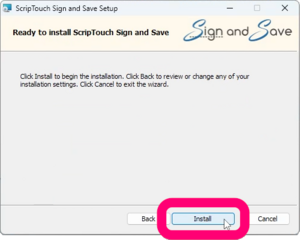
- Click on Install to finish the installation.
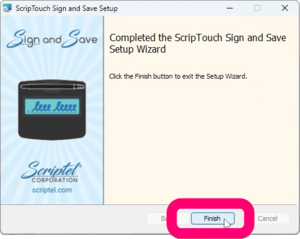
- After installation is complete, click Finish
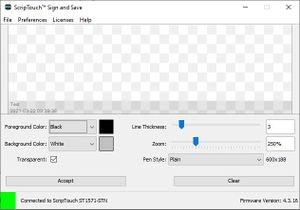
- Run Sign and Save
- Make sure your signature pad is connected indicated by a green square at the bottom left of the sign and save window. If your signature pad was not plugged in up to this point, plug it in now.
The installation is now complete and you may run ScripTouch Sign and Save with ScripTouch Remote. For further assistance, or if you experience any problems, please contact Scriptel Support.
