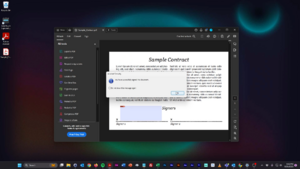
Install ScripTouch Adobe Acrobat Plugin and Signing a PDF on Windows
Jump to navigation
Jump to search
Video Tutorials
Install ScripTouch Adobe Acrobat Plugin and Signing a PDF on Windows Tutorial
Instructions
Before You Begin, You'll Need:
- The latest version of Adobe Acrobat installed. NOTE: Acrobat must be installed before Sign and Save.
- A Scriptel ScripTouch signature pad.
- The latest version of ScripTouch Sign and Save installed. Need help? Check out the link to our handy guide: ScripTouch_Sign_and_Save_installation
Step 1: Set Adobe Preferences
- Open Adobe Acrobat.
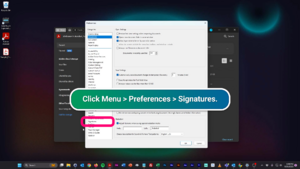
- Click Menu > then Preferences > Signatures
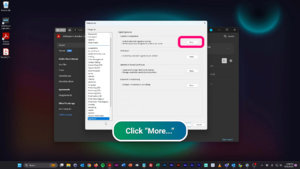
- In the "Creation & Appearance" section, click "More..."
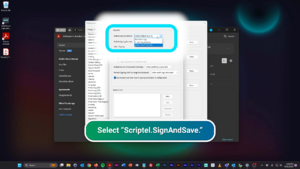
- For the "Default Signing Method," select "Scriptel.SignAndSave."
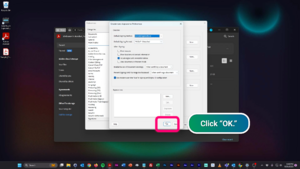
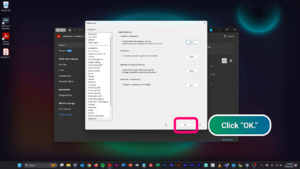
- Click "OK" to close the "Creation & Appearance" section.
- Click "OK" to close the "Preferences" section.
Sign and Save uses certificates to digitally sign documents. You will want to save the "Digitally Sign" document tool to the Adobe Quick Tools toolbar (feature not available in Adobe Acrobat Reader).
- To do this, open any PDF file.
- Click the three dots at the bottom of the Quick Tools toolbar.
- Then, click "Customize toolbar."
- Scroll to "Use a Certificate," and open the section.
- Select the "Digitally Sign" documents tool and add it to the toolbar.
- Click "Save" to save your new toolbar. The "Digitally Sign" documents tool was added.
Step 2: Plug in a ScripTouch Signature Pad
Plug one of our signature pads into your computer to use the software.
Step 3: Sign a PDF Document
- Open the Adobe PDF document you want to sign.
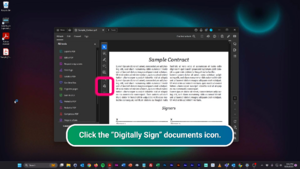
- In the Quick Tools toolbar, click the "Digitally Sign" documents icon (which you added earlier).
- Use your mouse to draw a rectangle where you want to place your digital signature.
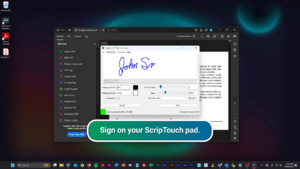
- Sign on your ScripTouch pad.
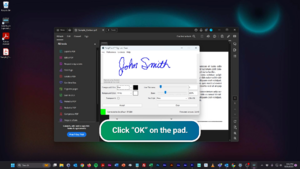
- Click the "OK" button when you are done signing.
- Adobe Reader will tell you that your signature was successfully applied. Hit "OK."
The document is now saved with the new signature.

