Installing ScripTouch Toolbox on Windows: Difference between revisions
Jump to navigation
Jump to search
No edit summary |
No edit summary |
||
| Line 7: | Line 7: | ||
#:<div style="padding:1rem;">[[File:Toolbox installation step 1.png|300x300px]]</div> | #:<div style="padding:1rem;">[[File:Toolbox installation step 1.png|300x300px]]</div> | ||
#Once the download finishes run the installer. | #Once the download finishes run the installer. | ||
#Read and agree to the "End User License Agreement." | #Read and agree to the '''"End User License Agreement."''' | ||
#:<div style="padding:1rem;">[[File:Toolbox installation step 3.png|300x300px]]</div> | #:<div style="padding:1rem;">[[File:Toolbox installation step 3.png|300x300px]]</div> | ||
#The User Account Control dialog may appear. If it does, click “Yes.” | #The User Account Control dialog may appear. If it does, click “Yes.” | ||
Latest revision as of 08:03, 10 October 2023
Installing ScripTouch Toolbox on Windows
Installing the ScripTouch Toolbox on Windows is fairly straight-forward:
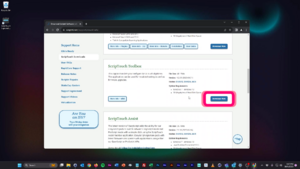
- Navigate to Scriptel Downloads page and click the Download Now button for ScripTouch Toolbox.
- Once the download finishes run the installer.
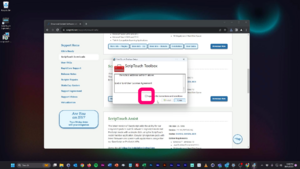
- Read and agree to the "End User License Agreement."
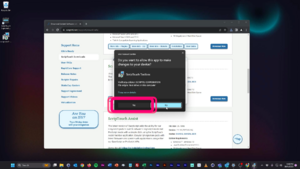
- The User Account Control dialog may appear. If it does, click “Yes.”
The installation is now complete and you may run ScripTouch Toolbox. For further assistance or if you experience any problems please contact Scriptel Support.
Note on Java Requirement
The ScripTouch Toolbox does rely on having a Java Run-time Environment installed. The ScripTouch Toolbox supports both x32 and x64 bit versions of the JRE 1.6 and higher. If a JRE is not detected during install it will try to install JRE 1.8.
If you are behind a firewall or proxy and are not able to install ScripTouch Toolbox because of the Java requirement simply install a compatible JRE version prior to installing ScripTouch Toolbox.


