Interface Switching: Difference between revisions
Jump to navigation
Jump to search
No edit summary |
No edit summary |
||
| Line 31: | Line 31: | ||
#: [[File:Switching Interface w Toolbox 04.png]] | #: [[File:Switching Interface w Toolbox 04.png]] | ||
#Click the Save button. | #Click the Save button. | ||
# Use the new hotkey button to switch between interface modes. | |||
Latest revision as of 12:55, 14 December 2017
Before you can switch the interface of a ScripTouch signature pad, you must be sure the following items are true.
- The signature pad is already EasyScript 3.0 compatible.
- The signature pad is already plugged in.
- All necessary software is already installed.
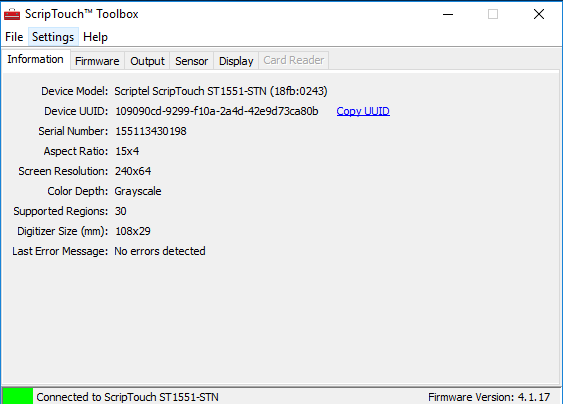
Instructions for ScripTouch Toolbox
Note: These setting will persist even if the pad is turned off.
- Open the ScripTouch Toolbox.
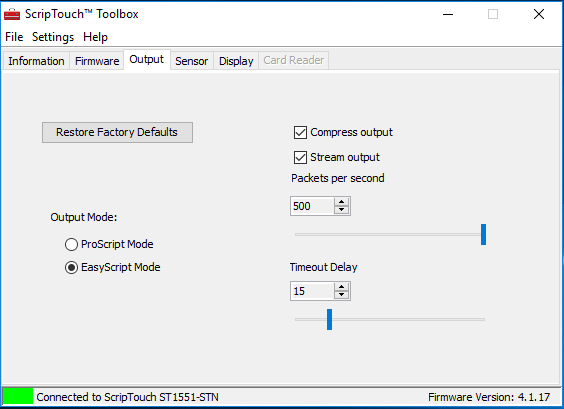
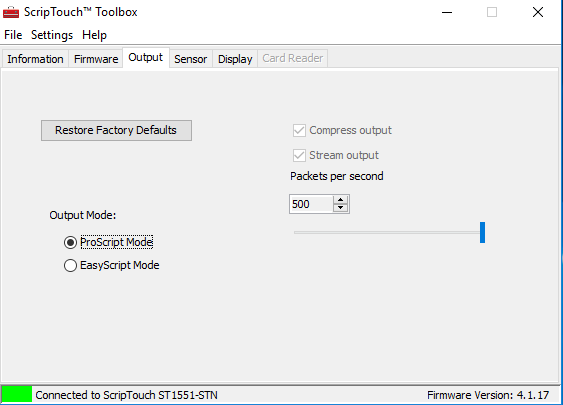
- Navigate to the output tab.
- Locate the Output mode Radio buttons, click the button for the desired interface.
Instructions for ScripTouch Assist
Note: These settings will NOT persist through a power cycle.
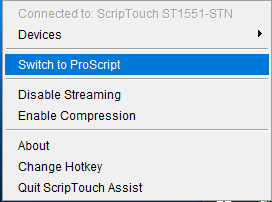
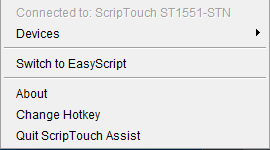
- To open the ScripTouch Assist menu, click on its icon in the notification area of your computer’s taskbar. The options for Assist will be displayed.
- The third line shows the opposite name of the protocol you are currently using, allowing you to switch by just clicking on it. In the example, the interface has been changed to EasyScript.
Method 2: Set a hotkey
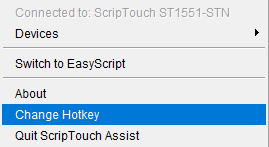
- To open the ScripTouch Assist menu, click on its icon in the notification area of your computer’s taskbar. The options for Assist will be displayed.
- Click the hotkey option.
- Create new hotkey combination.
- Click the Save button.
- Use the new hotkey button to switch between interface modes.
