ScripTouch Adobe Plugin Installation on Mac: Difference between revisions
Jump to navigation
Jump to search
No edit summary |
|||
| (One intermediate revision by the same user not shown) | |||
| Line 1: | Line 1: | ||
[[Category:ScripTouch Sign and Save]] | [[Category:ScripTouch Sign and Save]] | ||
==Video | ==Video Tutorials== | ||
<embedvideo service="youtube">https://www.youtube.com/watch?v=6aaHVuDbZzc</embedvideo> | <embedvideo service="youtube">https://www.youtube.com/watch?v=6aaHVuDbZzc</embedvideo> | ||
'''Install ScripTouch Adobe Reader Plugin on Mac Tutorial''' (Intel Processor Only) | '''Install ScripTouch Adobe Reader Plugin on Mac Tutorial''' (Intel Processor Only) | ||
<embedvideo service="youtube">https://www.youtube.com/watch?v=8288HLO0Lik</embedvideo> | |||
'''ScripTouch Adobe Reader Plugin to Sign PDFs on Mac Tutorial''' (Intel Processor Only) | |||
==Instructions== | ==Instructions== | ||
Latest revision as of 09:59, 13 September 2022
Video Tutorials
Install ScripTouch Adobe Reader Plugin on Mac Tutorial (Intel Processor Only)
ScripTouch Adobe Reader Plugin to Sign PDFs on Mac Tutorial (Intel Processor Only)
Instructions
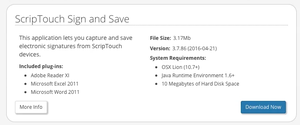
- Navigate to Scriptel Downloads page and click the Download Now button for ScripTouch Sign and Save.
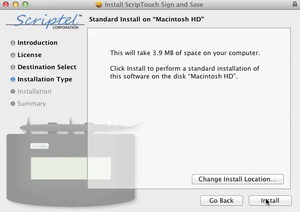
- Once the download finishes, run the installer.
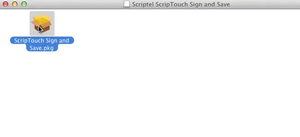
- Run the ScripTouch Sign and Save .pkg file.
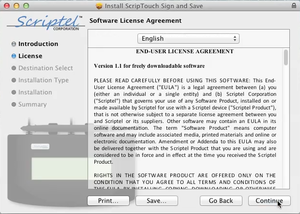
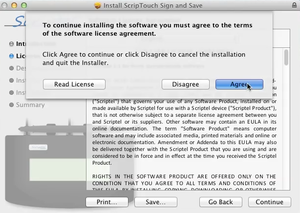
- Read and agree to the End User License Agreement.
- Change your install location if you wish, otherwise leave it unchanged.
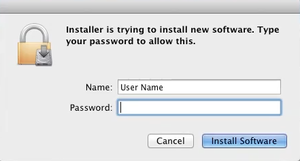
- Enter your Name and Password to allow the installation.
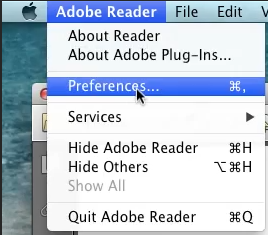
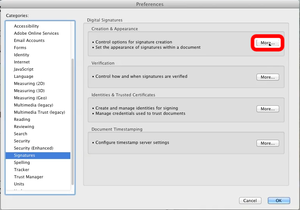
- Open the document you want to sign. Then click on Adobe Reader in the menu bar, then click Preferences.
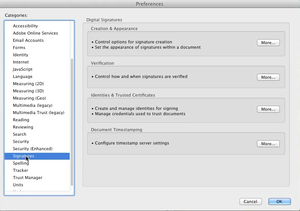
- Scroll down the list of categories and click on Signatures.
- Click on More... for Creation & Appearance.
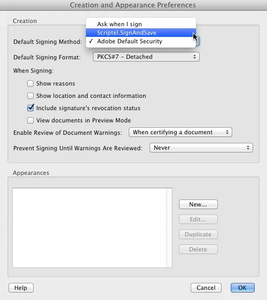
- Set the Default Signing Method to Scriptel.SignAndSave then click OK. Then click OK to close the Preferences window.
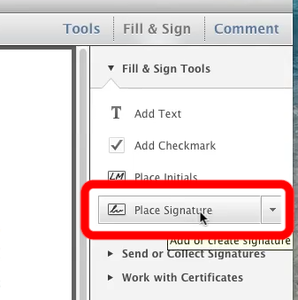
- Click the Fill & Sign button at the top of the window. Then click on Place Signature.
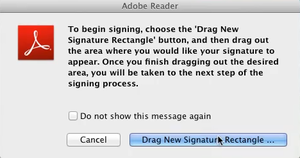
- Click Drag New Signature Rectangle then create a rectangle around the signature area by clicking a corner and dragging to the opposite corner.
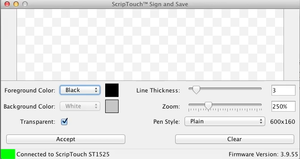
- Make sure your signature pad is connected indicated by a green square at the bottom left of the Sign and Save window. If your signature pad was not plugged in up to this point, plug it in now.
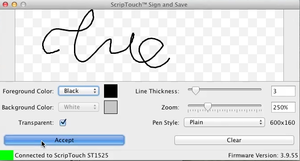
- You may now sign on your signature pad. You should see the signature appear in the sign and save window as it is signed.
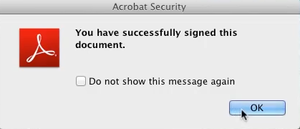
- After you have finished the signature click either the OK button on the pad, or the Accept button in the sign and save window.
