ScripTouch Word Plugin installation on Mac: Difference between revisions
Jump to navigation
Jump to search
Max Campbell (talk | contribs) m (Max Campbell moved page Installing the Microsoft Word Plugin and signing a document on Mac to ScripTouch Word Plugin installation on Mac) |
John Powers (talk | contribs) (updated downloads link) |
||
| Line 1: | Line 1: | ||
[[Category:ScripTouch Sign and Save]] | [[Category:ScripTouch Sign and Save]] | ||
#Navigate to [ | #Navigate to [https://scriptel.com/support/scriptouch-downloads/ Scriptel Downloads page] and click the '''Download Now''' button for ScripTouch Sign and Save. | ||
#:[[File:Installing SandS and signing word document on Mac step 1.png|300x300px]] | #:[[File:Installing SandS and signing word document on Mac step 1.png|300x300px]] | ||
#Once the download finishes, run the installer. | #Once the download finishes, run the installer. | ||
Revision as of 09:51, 24 January 2022
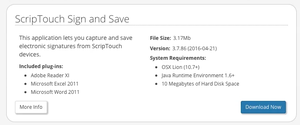
- Navigate to Scriptel Downloads page and click the Download Now button for ScripTouch Sign and Save.
- Once the download finishes, run the installer.
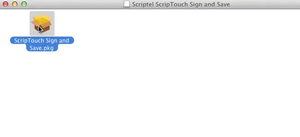
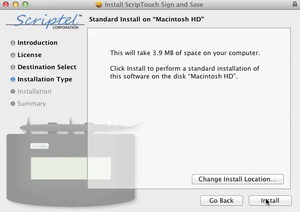
- Run the ScripTouch Sign and Save .pkg file.
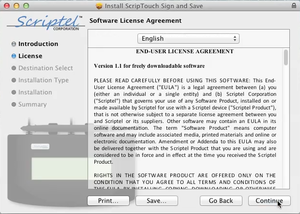
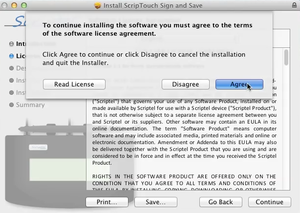
- Read and agree to the End User License Agreement.
- Change your install location if you wish, otherwise leave it unchanged.
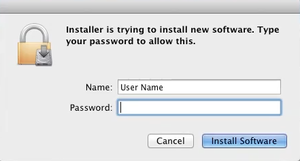
- Enter your Name and Password to allow the installation.
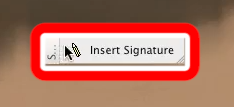
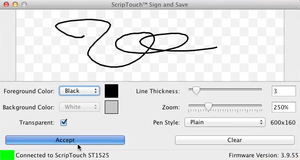
- Open the document you want to sign in Microsoft word, then click the Insert Signature button to open Sign and Save.
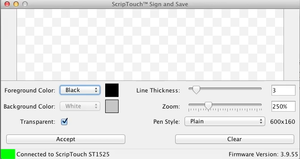
- Make sure your signature pad is connected indicated by a green square at the bottom left of the Sign and Save window. If your signature pad was not plugged in up to this point, plug it in now.
- You may now sign on your signature pad. You should see the signature appear in the sign and save window as it is signed.
- After you have finished the signature click either the OK button on the pad, or the Accept button in the sign and save window.
- Click and drag the signature to reposition it and click on any of the handles along the outer edge of the signature to resize it.
