ScripTouch Sign and Save for Google Docs installation
Jump to navigation
Jump to search
NOTE: If you have a ProScript interface (model number ending in a 0 or 5) you will also need to install the latest version of ScripTouch OmniScript which can be found on the Scriptel Downloads page. An installation guide for OmniScript can be found here. This does not apply to EasyScript interfaces (model numbers ending in 1 or 6).
Installing ScripTouch Google Docs Add-on and Signing a Document
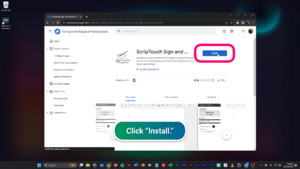
- Navigate to the ScripTouch Google Docs Add-on page.
- Click the "Install" button.
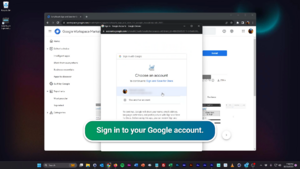
- You will need to sign in to your Google account to use this add-on.
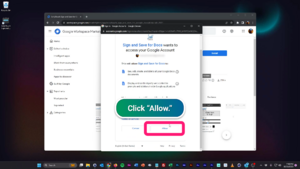
- Click on "Allow" to complete the installation.
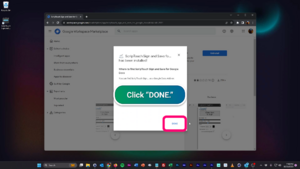
- Click "DONE" to close the window.
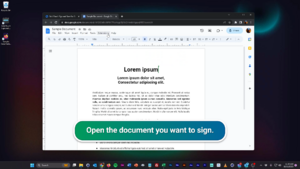
- Open the document you want to sign in Google Docs.
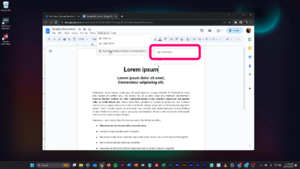
- Click on "Extensions" near the top of the page, then "ScripTouch Sign and Save for Google Docs", and then "Sign Document."
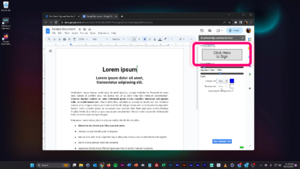
- Once the application sidebar opens click on the "Click Here to Sign" button.
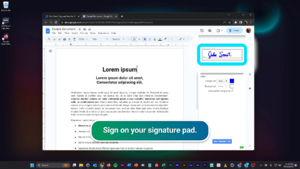
- Sign on your signature pad now. Be sure to press "OK" once you have finished signing.
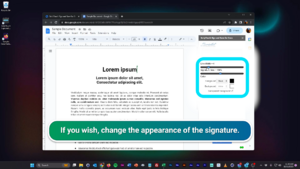
- You may also change some aspects of the signature using the options below before adding.
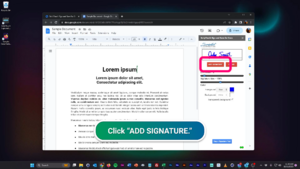
- Click on the "ADD SIGNATURE" button below your signature.
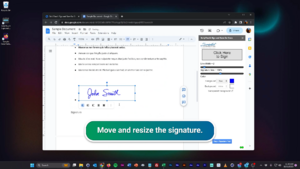
- With the signature added to your document you may now re-position, by clicking and dragging, and resize the signature, by clicking and dragging the handles along the outside of the box, if necessary.
